e. Set up Compute Environment
In this step, you set up an AWS Batch Compute Environment using the AWS Management Console.
Compute environments can be seen as computational clusters. They can consist of one or several instance kinds or just the number of cores you want in the environment. For more information on the compute environments, see Compute Enviornments.
- In the AWS Management Console, in the search bar, search for and choose Batch. Choose Get started.
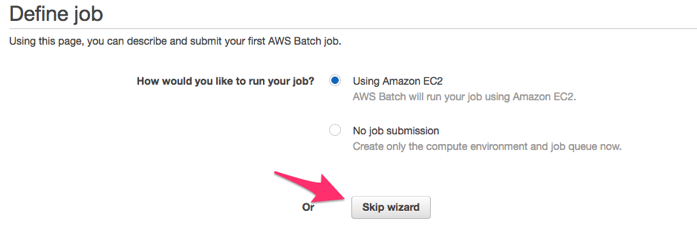
- On the next screen, choose Skip wizard.
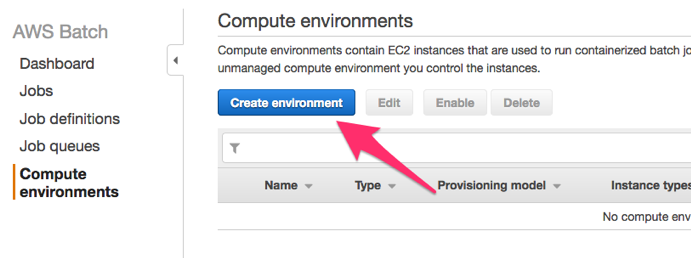
- In the left pane, choose Compute environments, then choose Create environment.
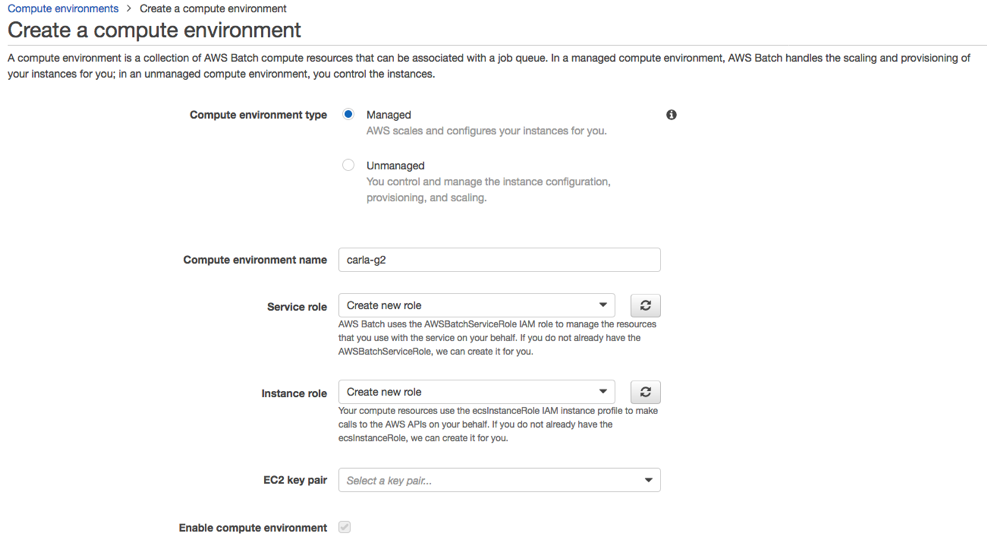
- For Compute environment type, choose Managed. This option allows AWS Batch manage the automatic scaling of EC2 resources for you.
- Type a Compute environment name.
- For Service role, choose Create a new role so that AWS Batch can manage resources on your behalf.
- For Instance role, choose Create a new role to allow instances to call AWS APIs on your behalf.
- Leave the EC2 key pair field as is, do not provide a key pair.
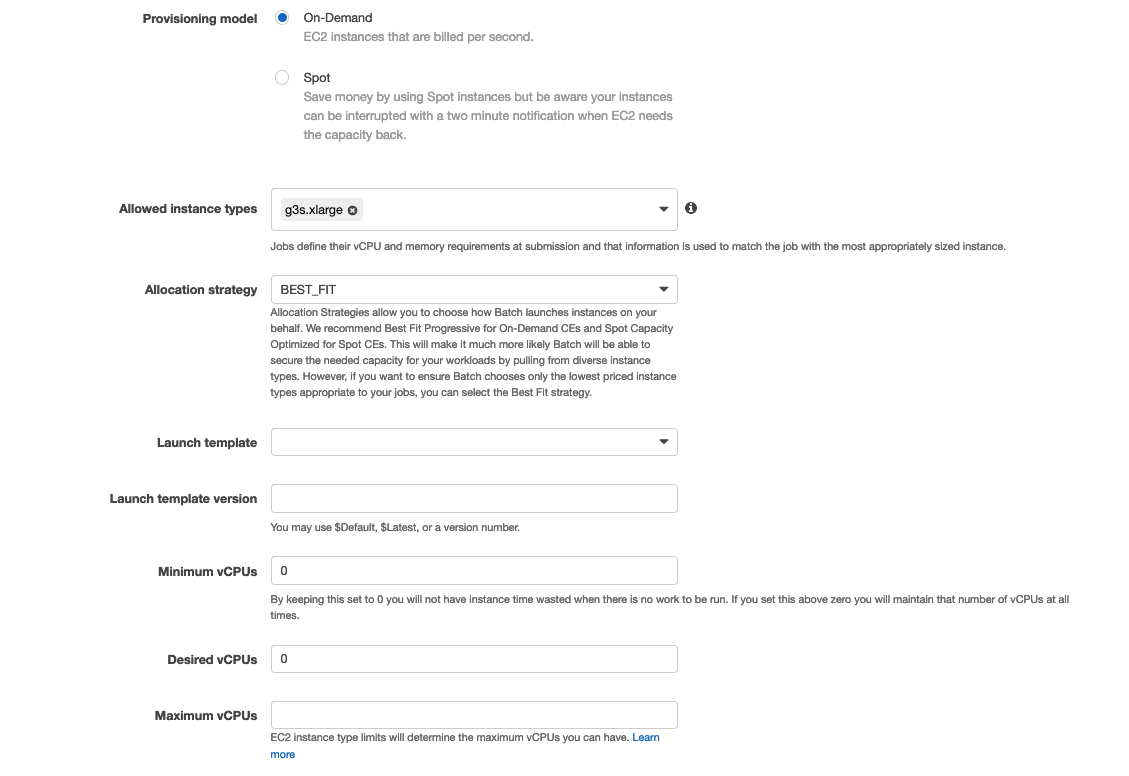
- For Provisioning model, choose On-Demand.
- For Allowed instance type, remove optimal and choose g3s.xlarge.
- For Maximum vCPUs type 16 (which allows you to use up to 4 instances).
- Skip the other vCPU settings.
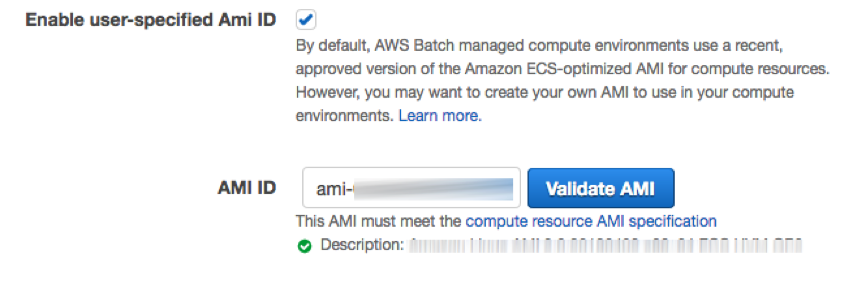
- Select the Enable user-specified Ami ID check box, then type the ID of the AMI generated with Packer. Choose Validate AMI and you should see a similar result to the following image.
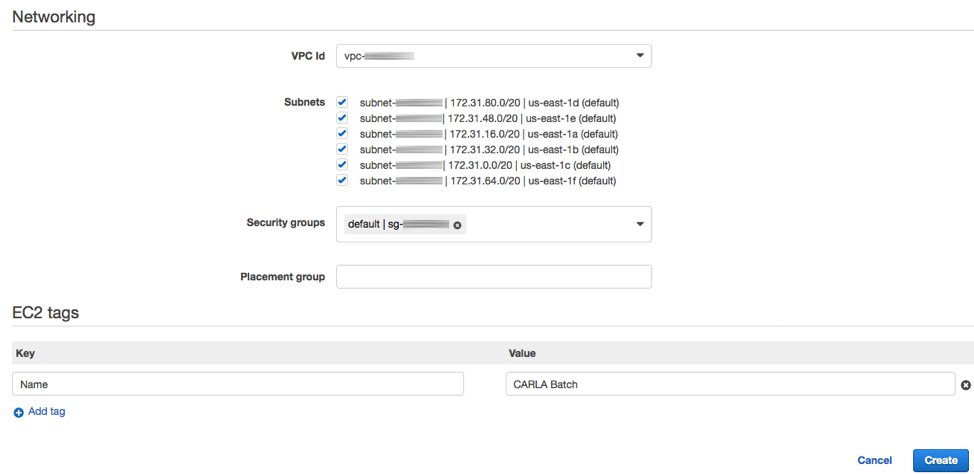
- For VPI Id, choose the default VPC.
- Choose all subnets.
- For Security groups, leave the selection as the default.
- For Placement groups, leave the selection as the default.
- Add a Tag called Name and for Value, type a name for your instances created with Batch. You can add additional tags if you want.
- Choose Create to build your new compute environment.
At this point, you have done the hard part! Continue to set up a job queue.