d. Opt - Create an S3 Bucket
These steps are optional and if you have extra time. Please consider moving to Lab I.
Now that you have access to the AWS CLI, you can use it to create an S3 bucket, then upload a file to this bucket. You can later use this bucket to load files into Lustre. For more information Amazon S3, see Amazon Simple Storage Service Documentation. Alternatively, you can also perform these steps in the AWS Management Console, but this workshop uses AWS CLI.
- Open a Cloud9 terminal and enter the following command to list existing buckets. (This command may return several or no buckets.)
aws s3 ls
- Create an S3 bucket with a unique name using the following command.
The bucket name must start with s3://. Choose a random prefix, postfix, or append your name.
BUCKET_POSTFIX=$(uuidgen --random | cut -d'-' -f1)
aws s3 mb s3://bucket-${BUCKET_POSTFIX}

cat << EOF
***** Take Note of Your Bucket Name *****
Bucket Name = bucket-${BUCKET_POSTFIX}
*****************************************
EOF
Keep note of your bucket name. If you forget your bucket name, you can view it in the Amazon S3 Dashboard.
wget http://s3.amazonaws.com/open.source.geoscience/open_data/seg_eage_salt/SEG_C3NA_Velocity.sgy
- Upload the file to your S3 bucket using the following command:
aws s3 cp ./SEG_C3NA_Velocity.sgy s3://bucket-${BUCKET_POSTFIX}/SEG_C3NA_Velocity.sgy
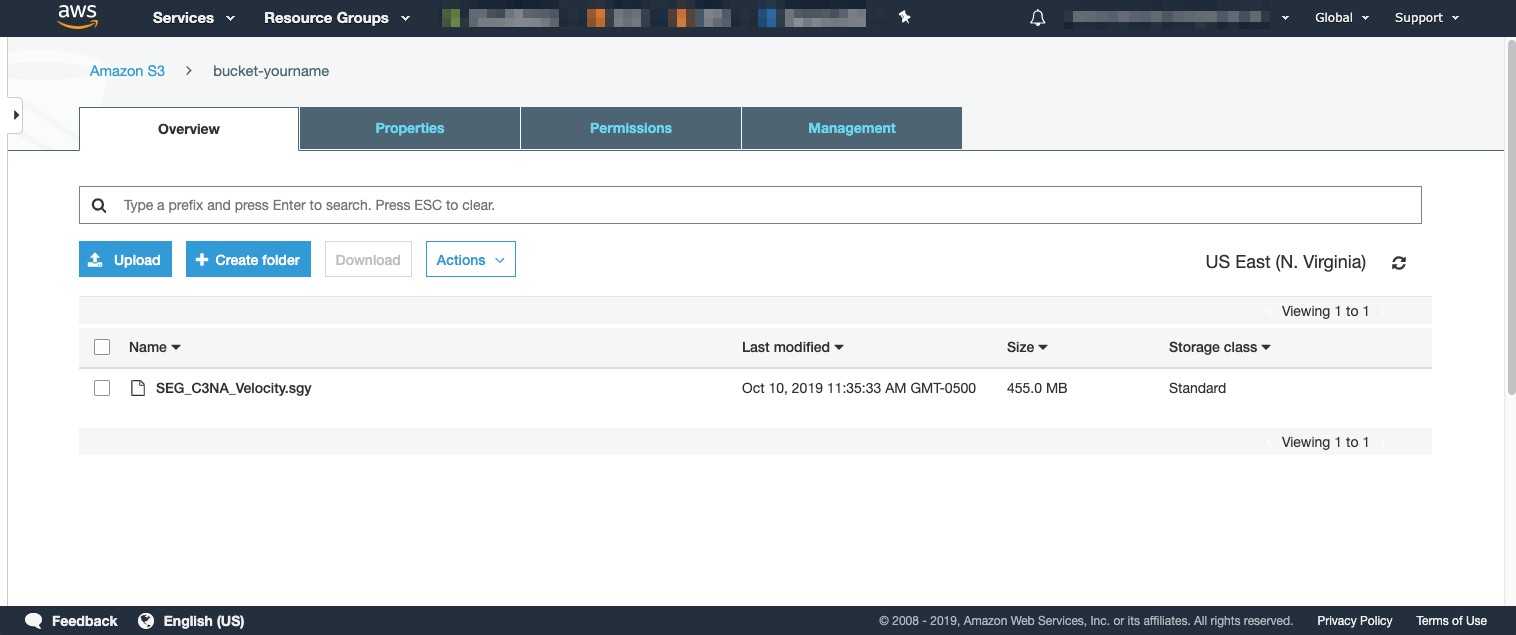
- List the content of your bucket using the following command. Alternatively, you can view the S3 Dashboard in the AWS Management Console and view your newly created bucket to see the file.
aws s3 ls s3://bucket-${BUCKET_POSTFIX}/
- Delete the local version of the file using the command rm or the AWS Cloud9 IDE interface.
rm SEG_C3NA_Velocity.sgy
Example: Creating an S3 bucket in Cloud9 (click to enlarge):

Example: Viewing an S3 bucket in the S3 Dashboard (click to enlarge):
